Search

Items tagged with: sword


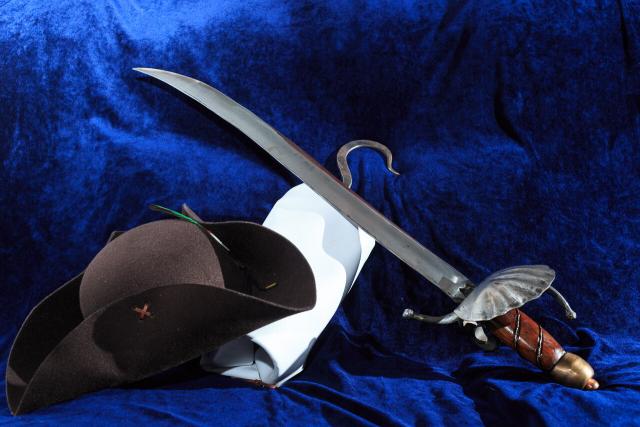
A better (clearer) photo of the # with the hook and hat I've made previously.

# # # # #


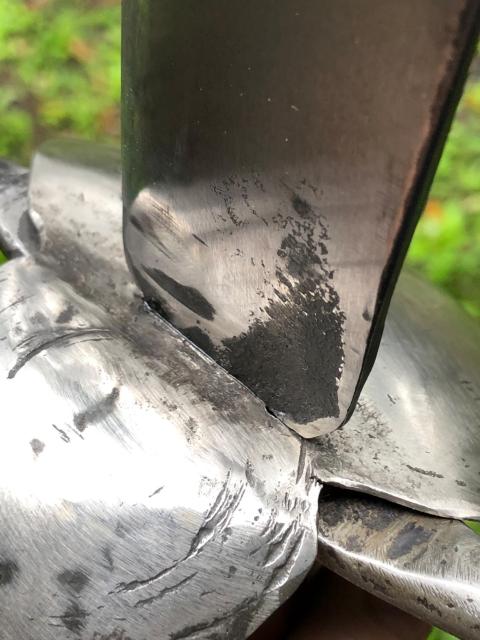
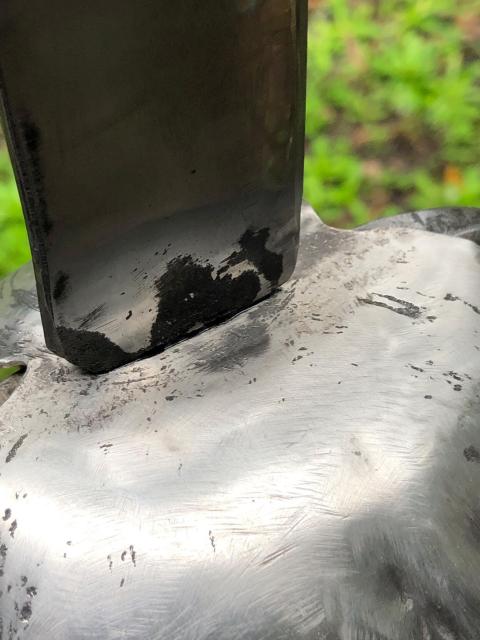
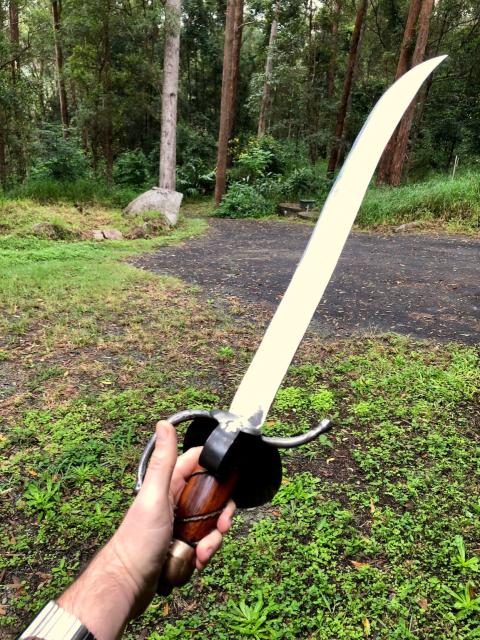
And of course, you have to do a cut test.

My edge alignment could have been a little better, but this is the first time I've tried swinging the blade at something.

# # # #


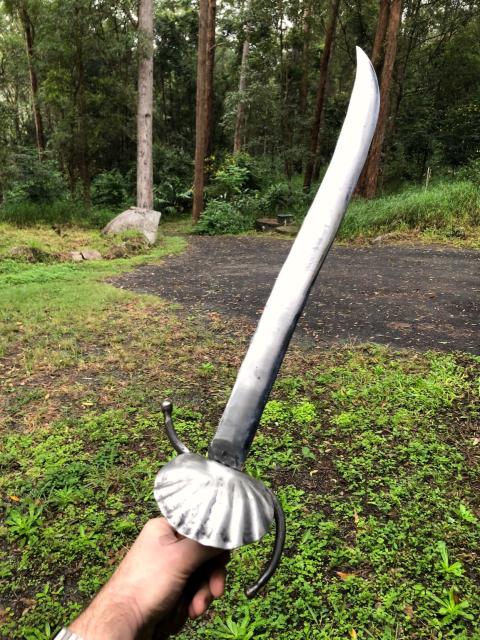
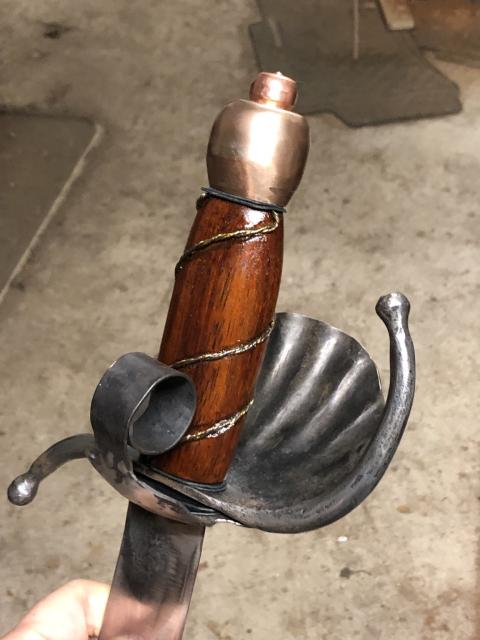
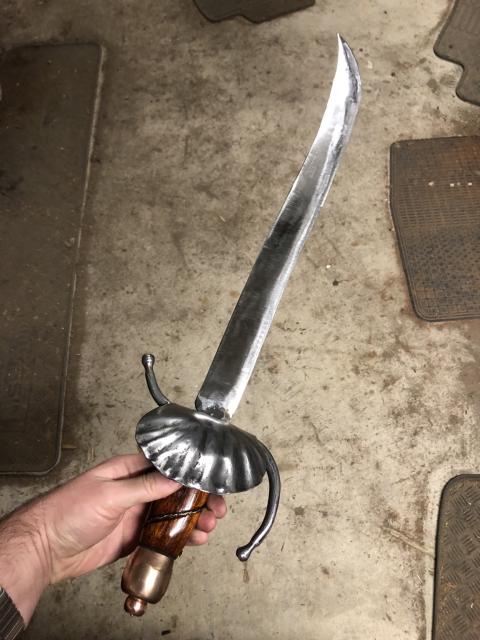
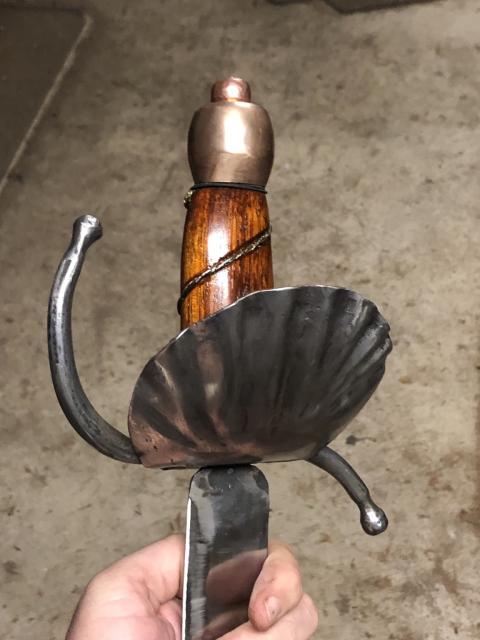
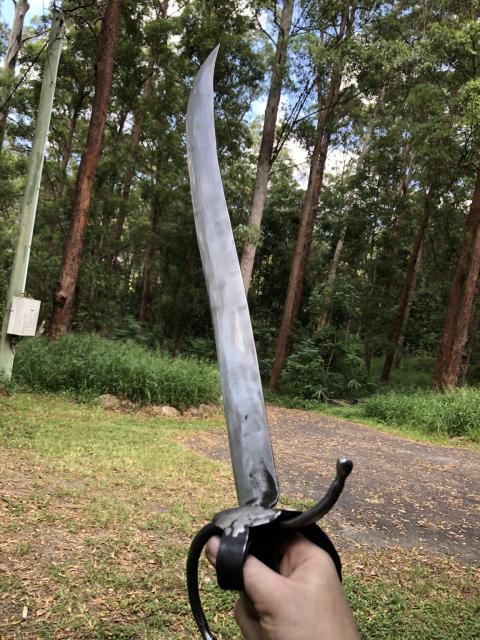
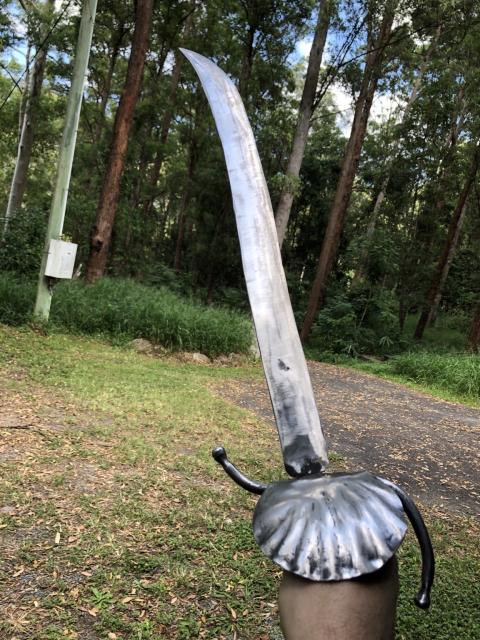
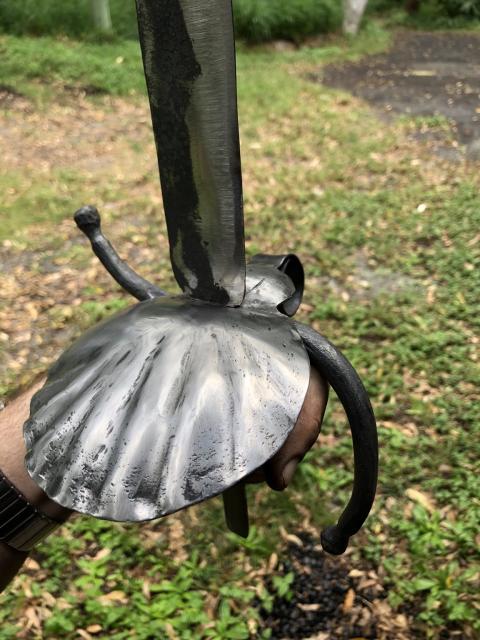
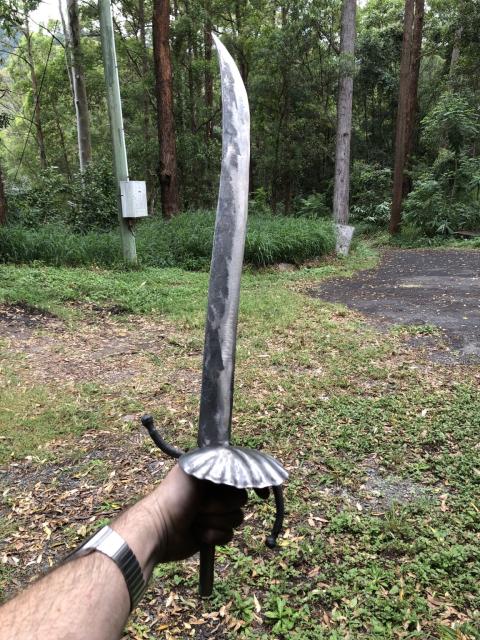
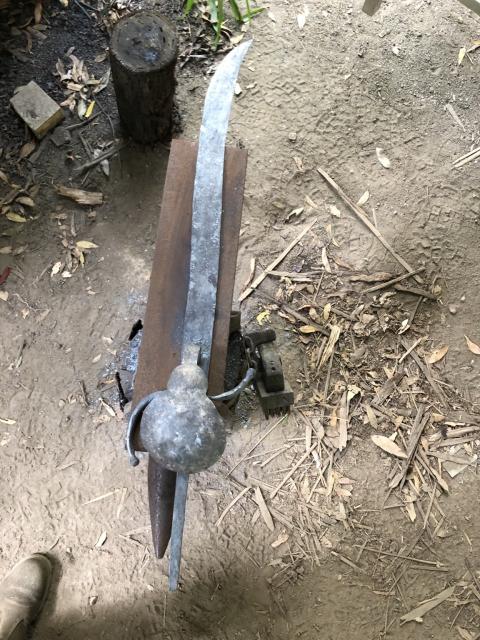
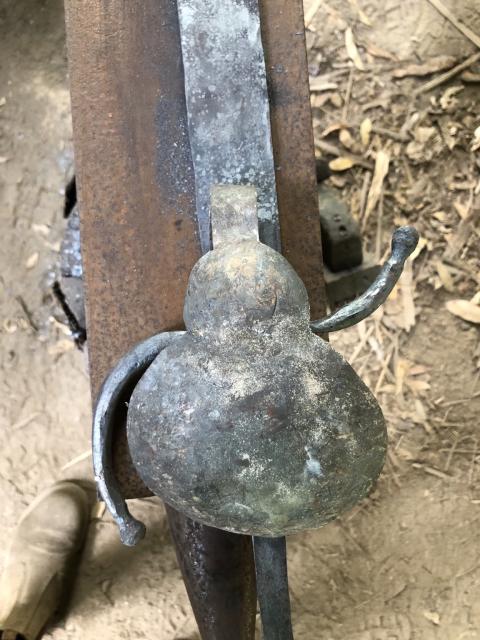
Well it took quite a while, but I'm calling this one done.

Here is my very first # modelled on the Dutch style from around the 1680s.

It is, by no means perfect, but the fit-up is pretty tight, and it is functionally sharp.

(iphone photos, will do some better ones later)

# # #


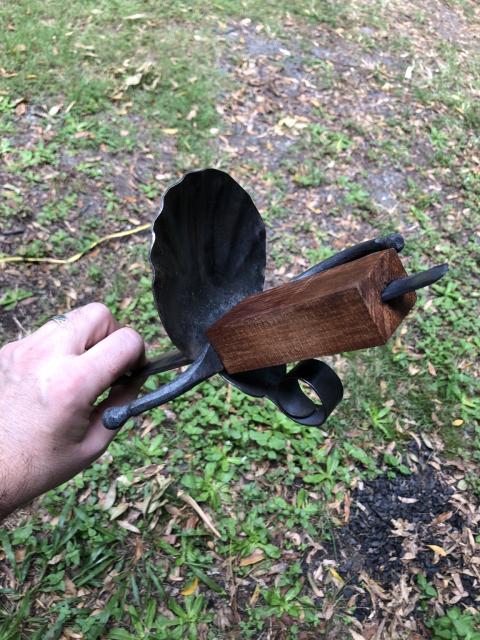
Test fit time!

Actually fits together fairly well, weight distribution is such that the balance point is 5cm in front of the guard, making for a very lively sword. Total weight is 1.2kg or about the same as my rapier (which is considerably longer).

The blade still needs heat treating and then I have all the fiddly bits in the fit up to secure everything.
#sword #cutlass #BeMorePirate #blacksmith
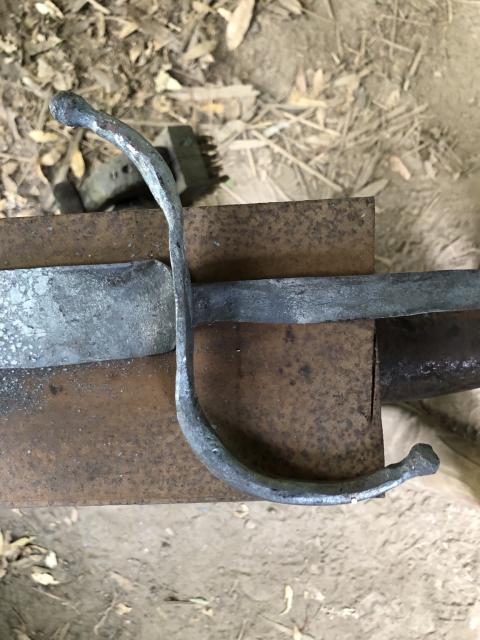

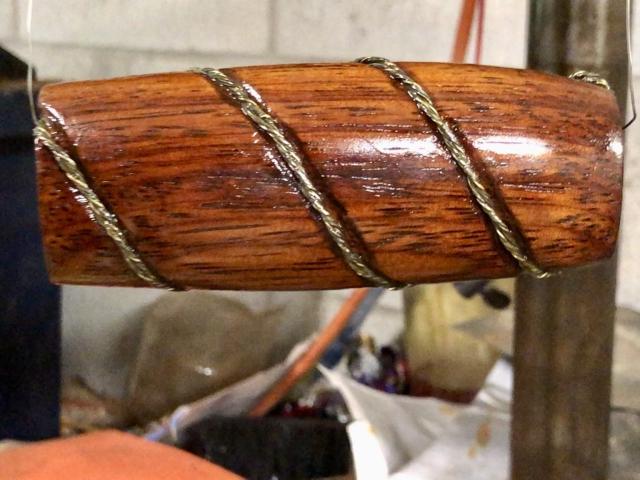
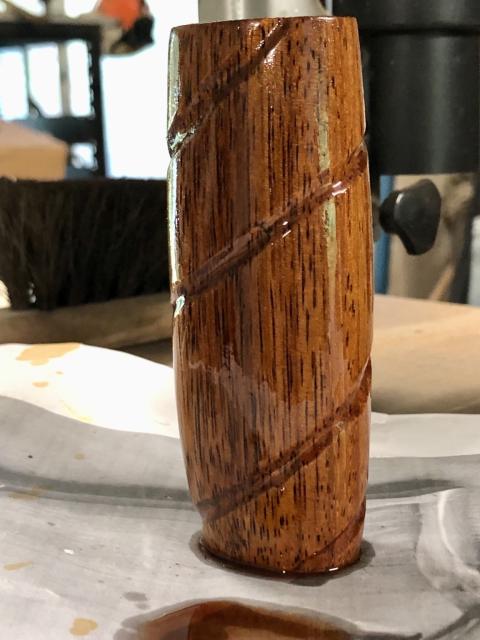
I’m up to the shellac stage of the grip. It’s had one coat of red oil, three of Tung oil, and three of seedlac (veg based shellac). I’ll probably do a few more coats and let it properly harden before polishing.
#cutlass #sword #blacksmith #woodwork


More blade cleanup today. It’s down to 500g now so I can’t take any more off, except for some light sanding and the final sharpen. Still needs heat treating too.

#cutlass #sword #blacksmith #metalwork #BeMorePirate


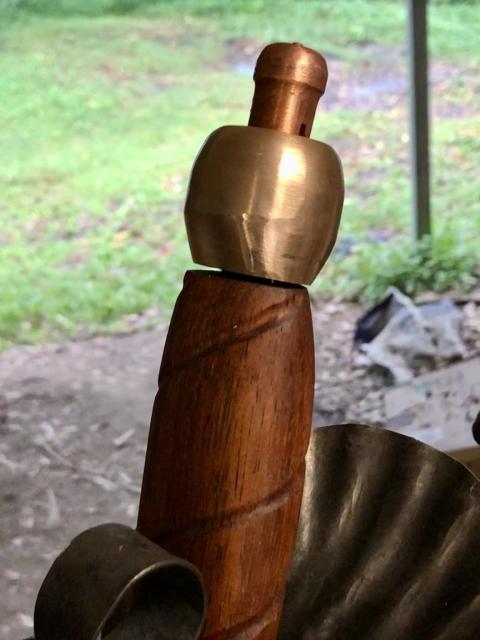
Roughed out a pommel. Two piece construction, very experimental, hope it works. Can’t test fully until the rest of the piece is completely finished.
Don’t worry about the poor fit, it’s just sitting there at the moment.


#sword #cutlass


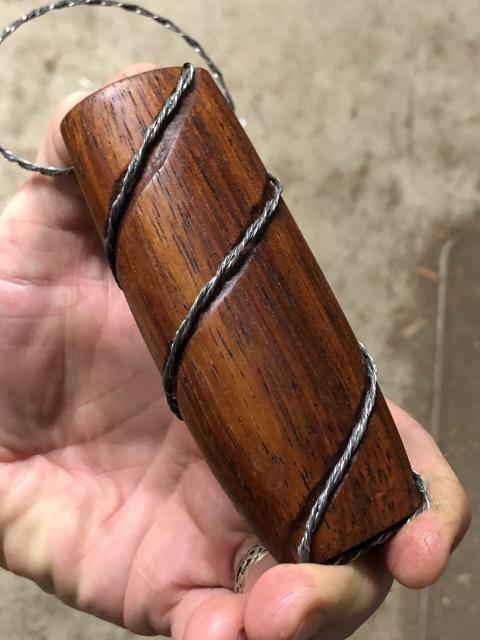
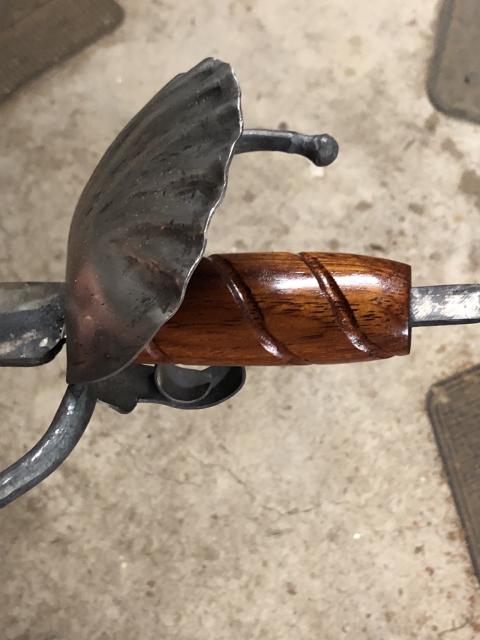
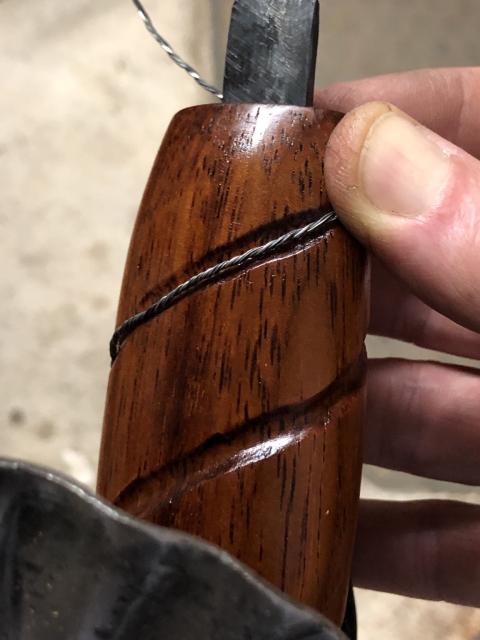
Double thickness wire. Fills the slots a bit better and provides a little extra grip. #sword #cutlass


I’m leaning towards the wire. I’ve twisted some two tone wire which I think looks ok. I could twist it on itself to make it thicker, or fill the groove with clear epoxy once the wire is in place.

#sword #cutlass #blacksmith


Shaped the handle this arvo. Tossing up between twisted wire or leather thongs in the sorriso grooves.
#sword #cutlass


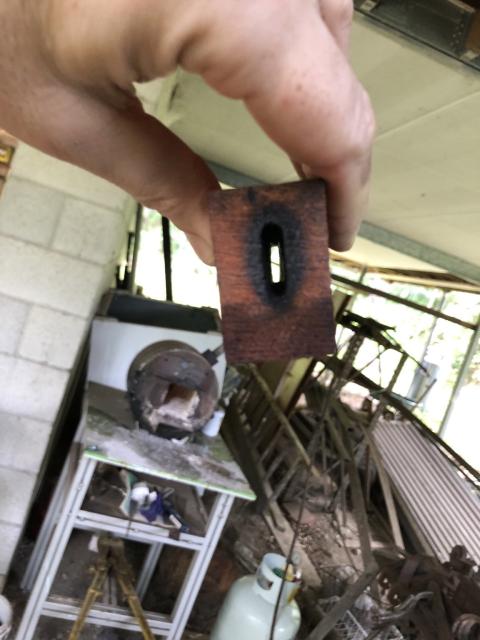
Tang burnt through the handle material. A lot of naval cutlasses had cast iron or brass handles as they son’t swell on a ship like wood or bone but this one isn’t going to sea, and I don’t have casting facilities anyway.
Since I also don’t have long thing drill bits, I used the more tradition method of heating the tang and pushing it through the wood.
#sword #cutlass #blacksmith


It rained, so I did some more. Fullered the shell, cut slots in the guard and quillions, rough grind on the blade. #blacksmith #metalwork #sword #cutlass #BeMorePirate
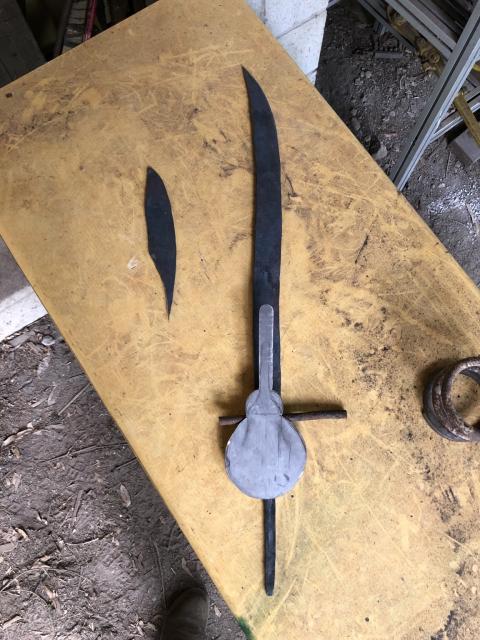

More progress. Forged in the bevels on the tip, straightened and flattened the whole blade. Forged the quillions and dished the shell guard.
Still need to slot the quillions and guard and clean everything up and do a LOT of grinding.
#blacksmith #metalwork #cutlass #sword #BeMorePirate
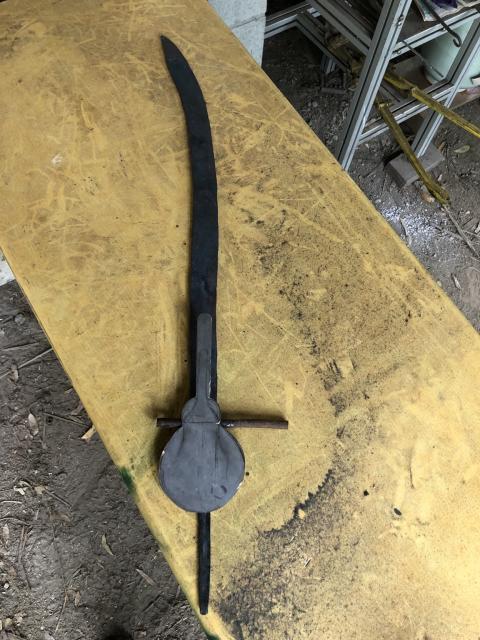

After some more research, I found my blade length was too long. I had a 30” blade, but typical cutlasses and hangars were only 30” total length including hilt. So I’ve trimmed the tip and re-profiled the shape.
#blacksmith #metalwork #cutless #sword #BeMorePirate


I’ve cut out the shell guard and thumb ring sheet from some stainless steel I had lying around. I have a plan to form a tool to help with adding the flutes to the shell. I also have a piece of 100+ year old wrought iron for the quillions.
#blacksmith #metalwork #cutless #sword

Lo, thar be cookies on this site to keep track of your login. By clicking 'okay', you are CONSENTING to this.

⇧