Search
Items tagged with: blacksmith
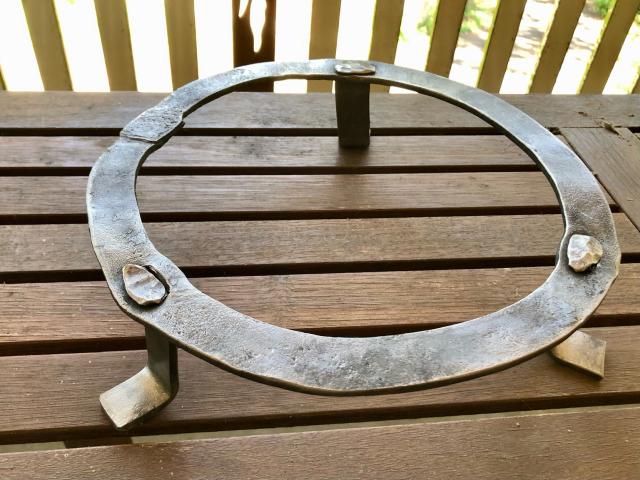
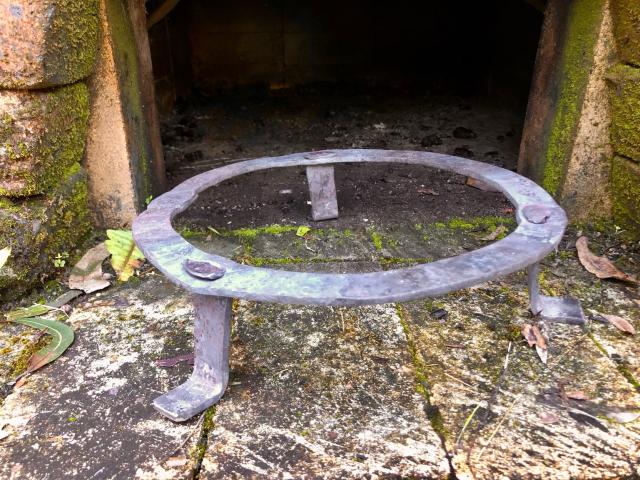
I decided a plain wire brushed finish would do for the trivet since it will be used inside and not get wet.
Today’s project, all finished but for the cleaning up (need to wire wheel the forge scale off).
A trivet, mostly for putting the hot pizza peel on instead of on top of the stovetop.
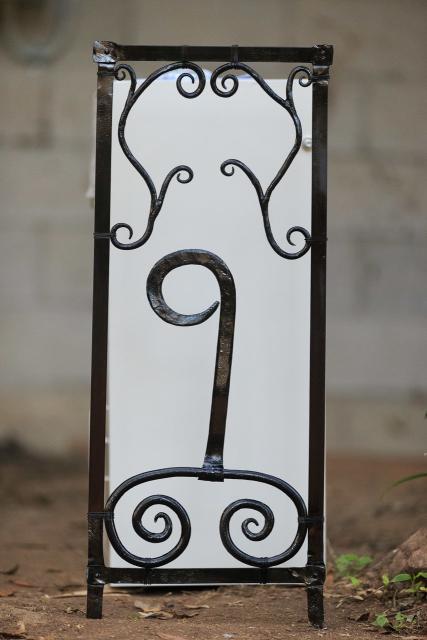
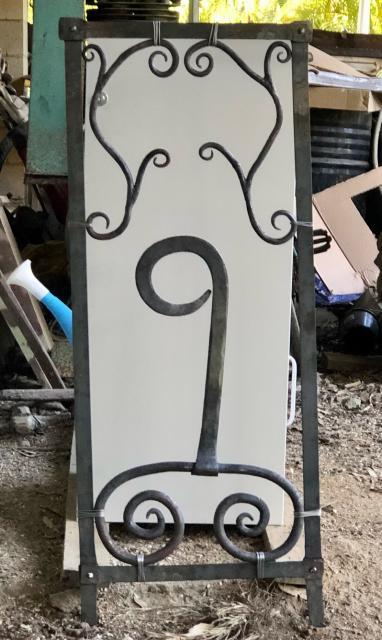
A quick test install of the finished product with the letterbox placed behind.
The letterbox is awaiting installation from the electrician that destroyed the last one (pending a slab).
All the forging is done. Now I just need to paint it and it’ll be ready to install.
I opted to wire-wrap the curly bits on, could have used hot collars, but wire wrap is also ok.
The forge welds took!
One scroll down, now to make another nearly identical one.
More progress today. A lot quicker when you have electricity to run the electric blower.
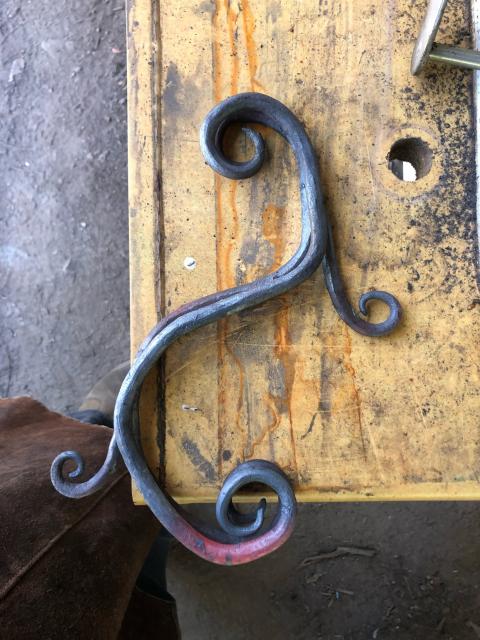
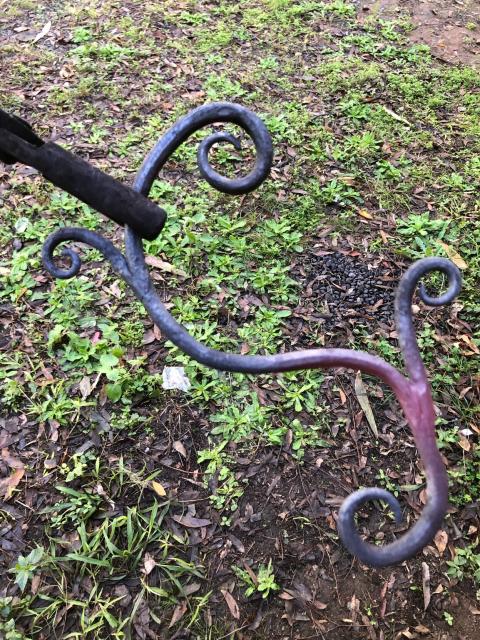
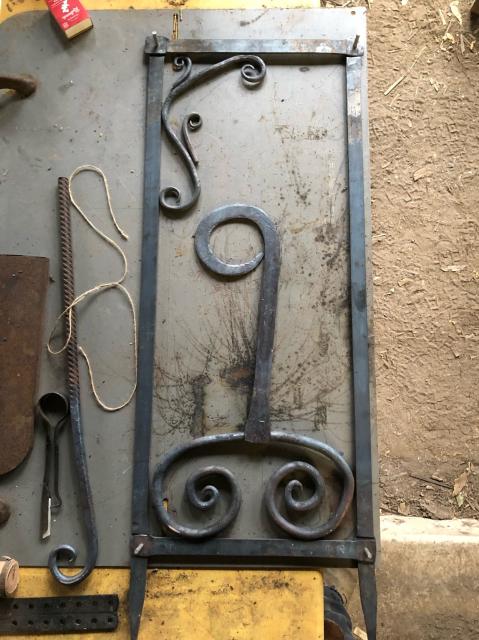
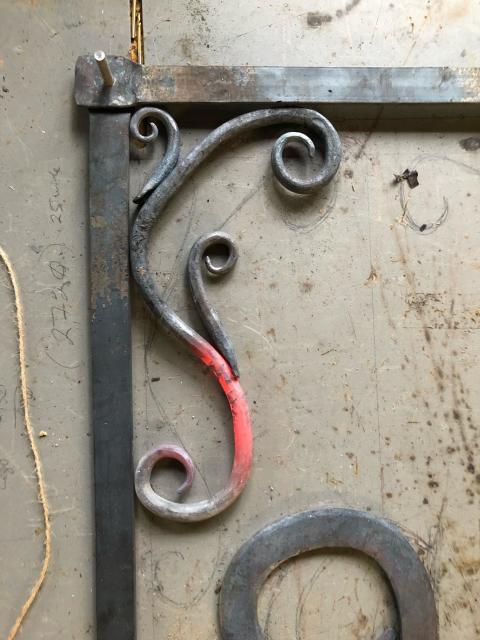
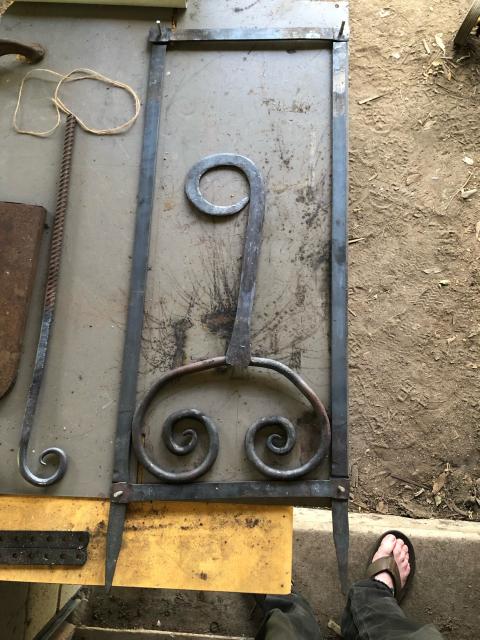
Fixed up the bottom scroll and have done on of the top ones (although I need to attach the branches yet); still need to make a 2nd identical but mirrored top scroll.
This scroll isn’t quite finished but it’s nearly there. Had to use the hand cranked blower as we had no power to run the electric one.
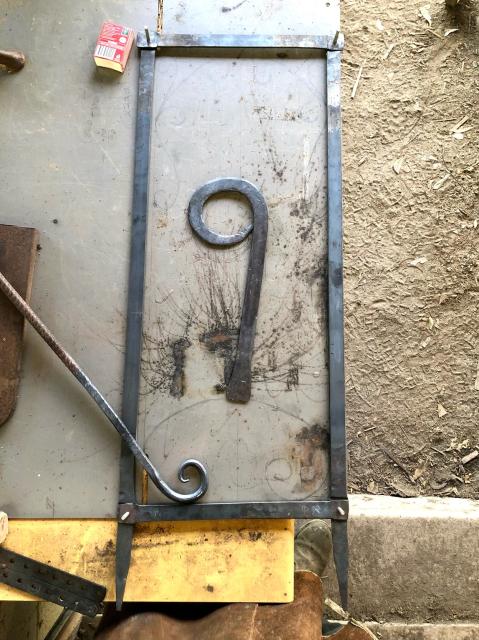
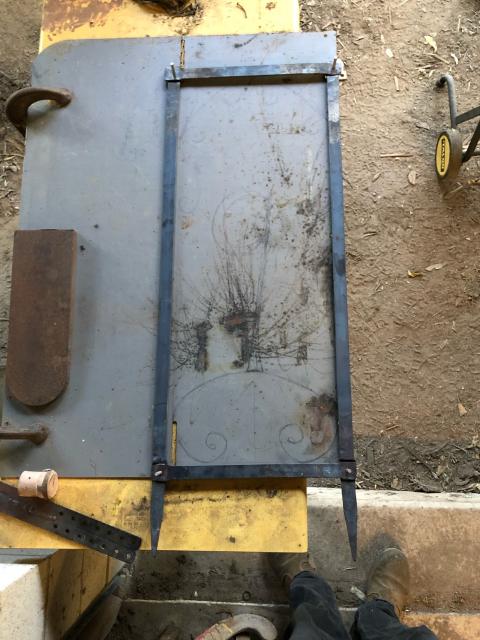
Today’s progress. I pulled something in my left shoulder this morning so the forging time was reduced to the point where it started bothering me.
However, I got the 9 done and started on the bottom curly bit.
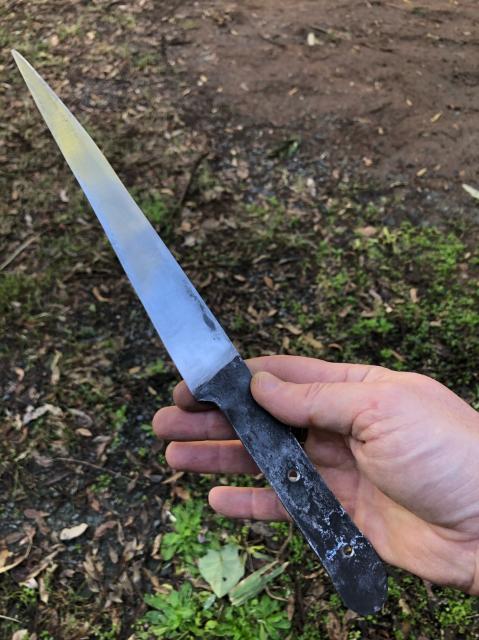
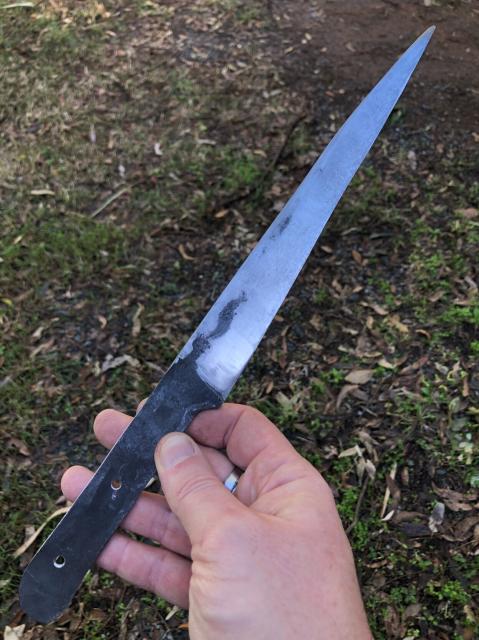
Carving knife update. Did more filing and sanding yesterday.
Still needs a bit of straightening and a heat treat, then handle scales, etc.
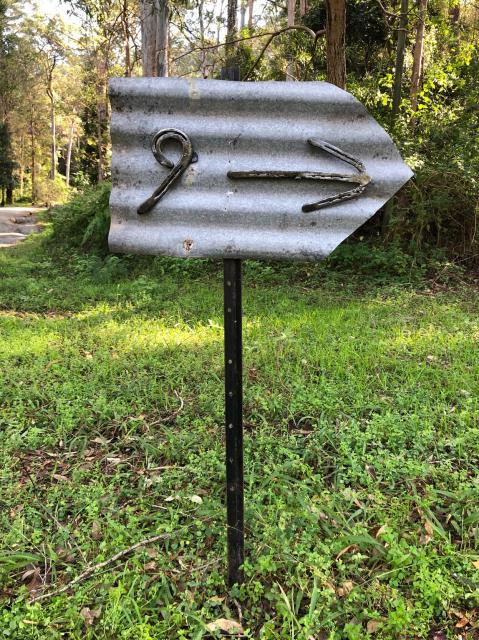
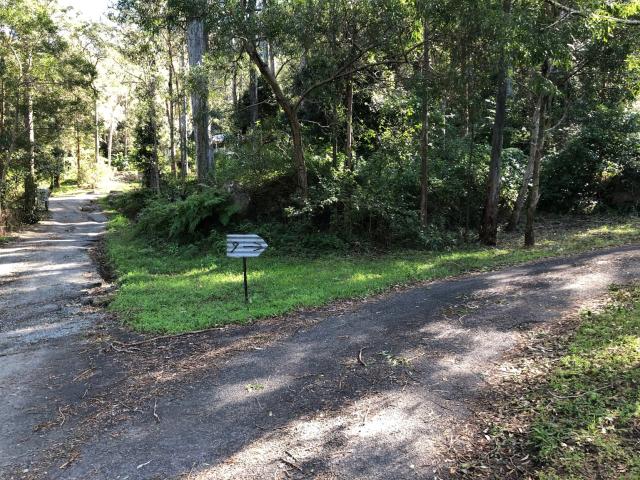
This weekend’s #blacksmith project was to make a sign for the split in the driveway and thus negate the need to explain in fine detail which house is ours. The number and arrow are forged from old horseshoes.
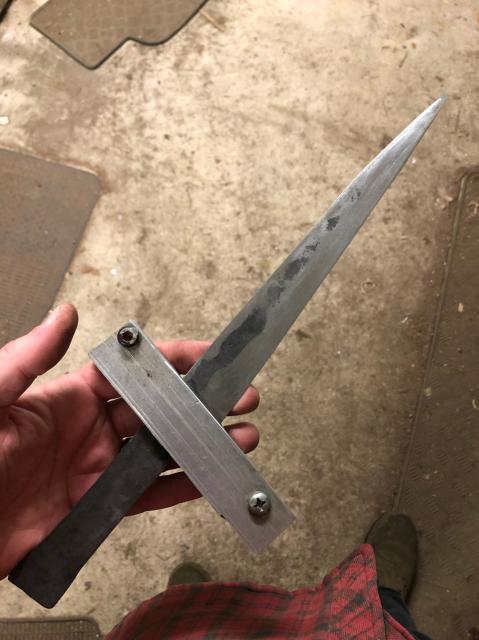
Progress on the carving knife I’m making. The rough forging was done last weekend (might have been the one before) and today I ground and filed in bevels and improved the shape a bit.
Bit more to do before heat treating and then more filing/grinding/sanding/polishing.
Ignore the dodgy file guide, it won’t have a cross guard.
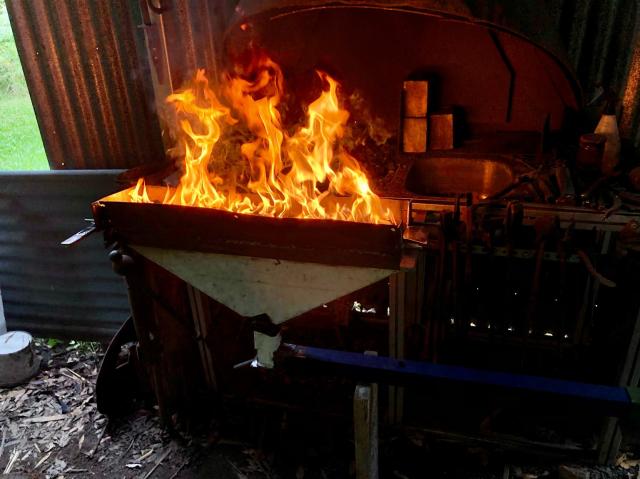
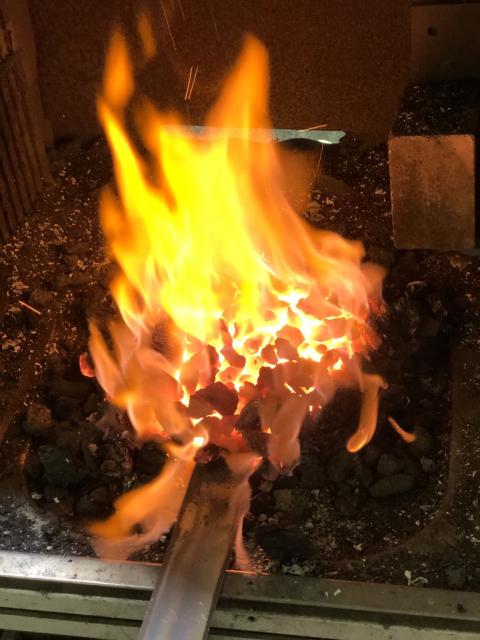
It’s cool and windy today (but the ground is wet, so sparks aren’t an issue), so I lit the charcoal forge and started on a classic French style carving knife.
#fire #forge #slowmo #blacksmith
Not too bad a cut. Maybe could have been marginally closer to get the back of the cut a bit cleaner, although that was probably just bad technique on my part.
And of course, you have to do a cut test.
My edge alignment could have been a little better, but this is the first time I've tried swinging the blade at something.
#cutlass #sword #blacksmith #video
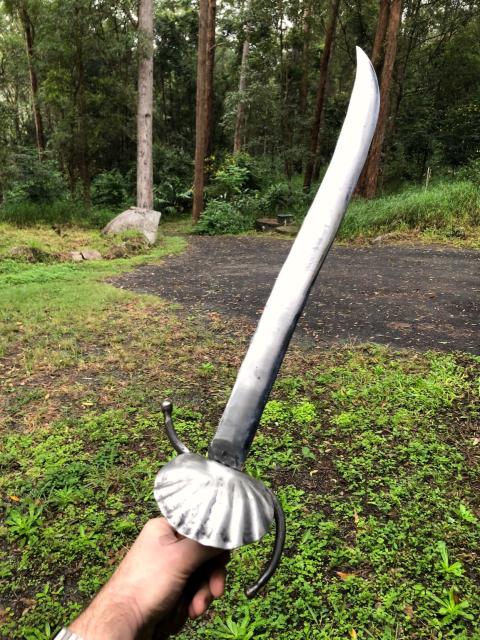
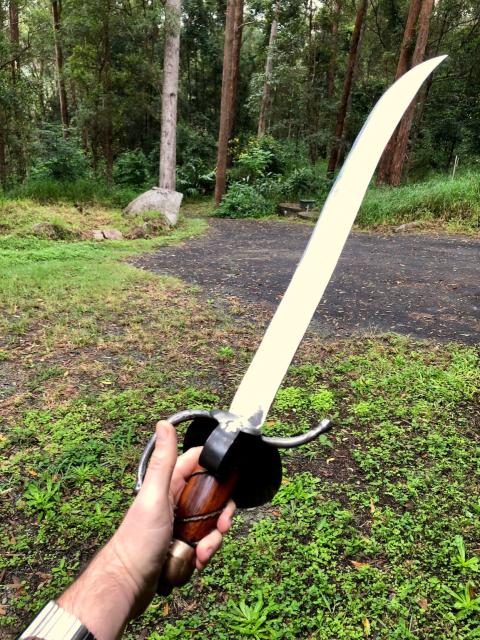
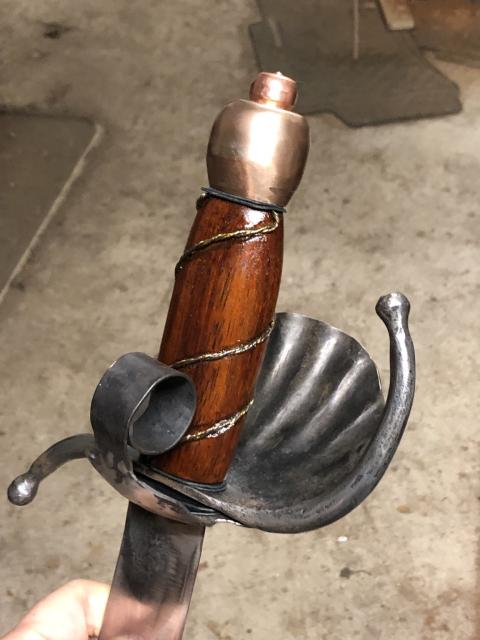
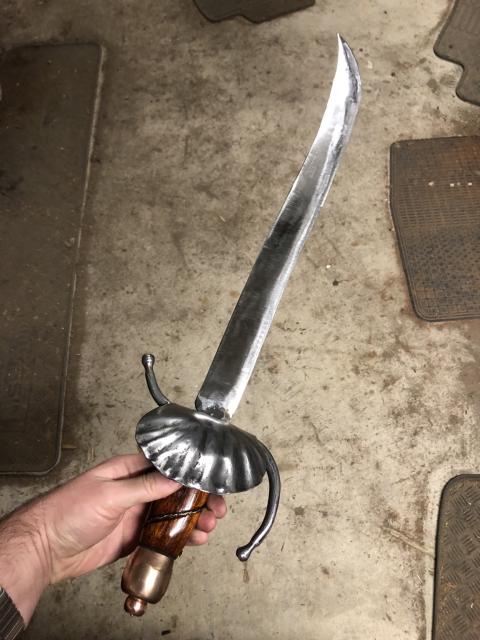
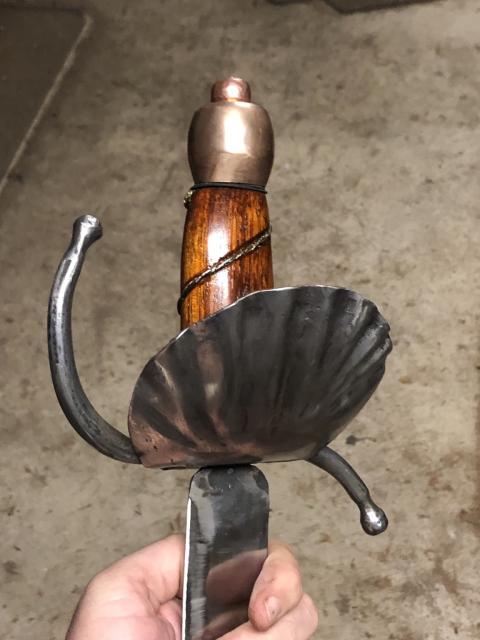
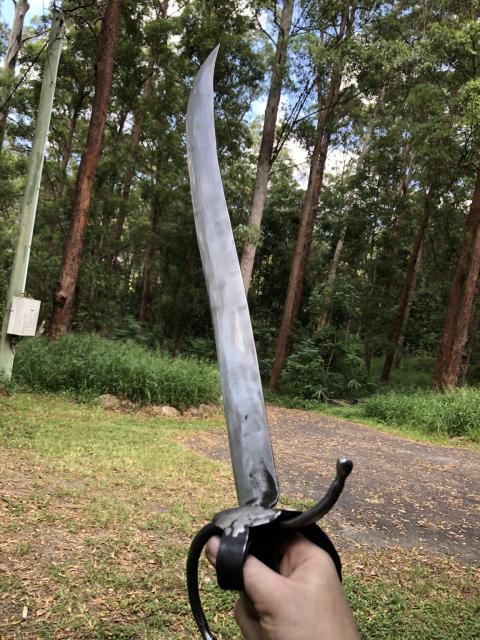
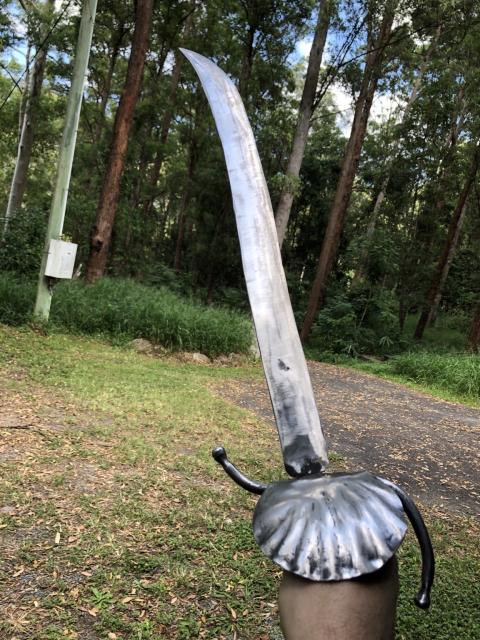
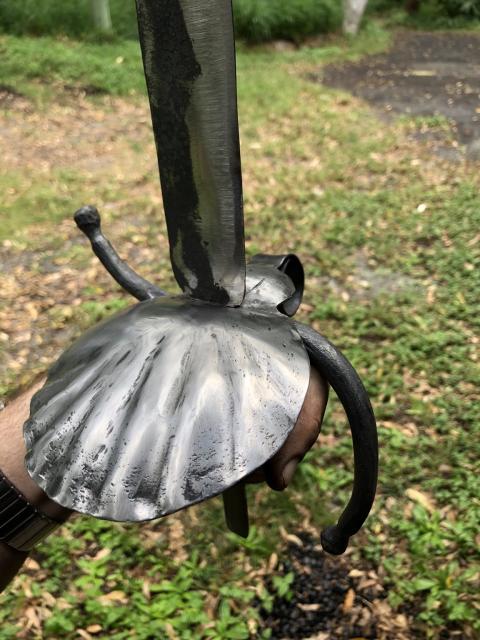
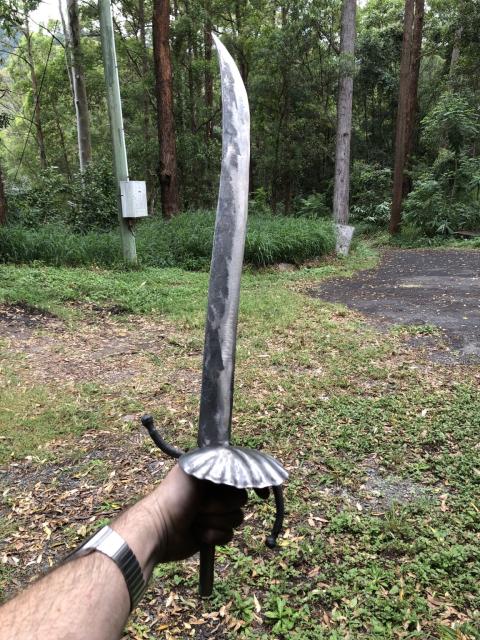
Well it took quite a while, but I'm calling this one done.
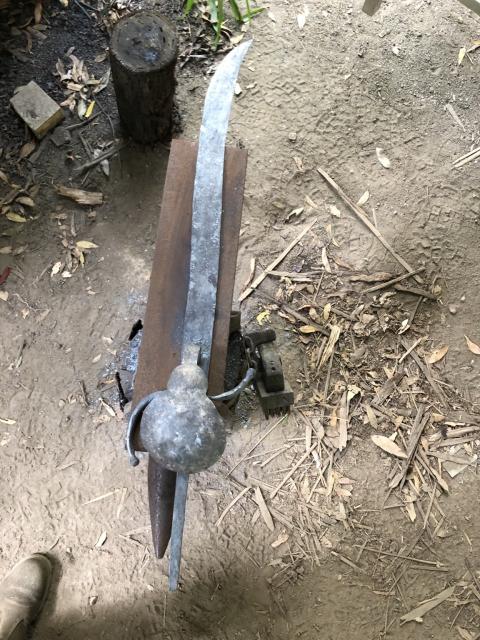
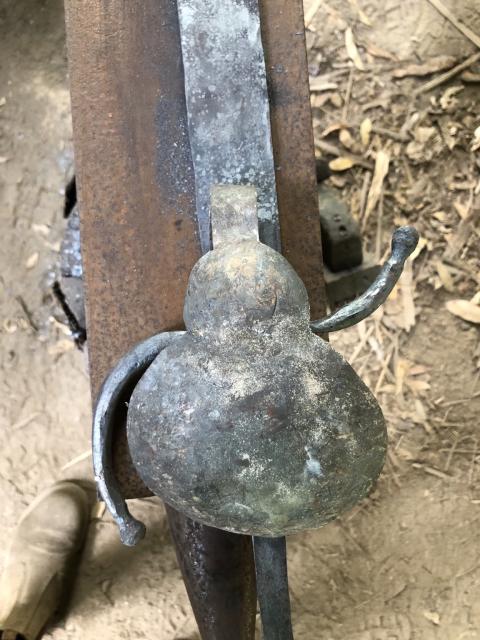
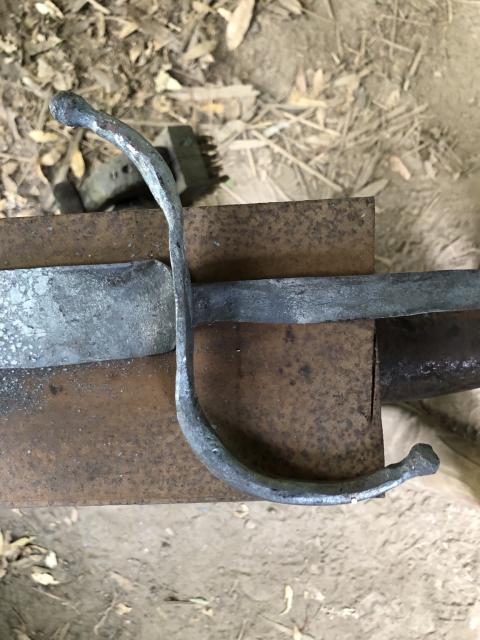
Here is my very first #cutlass modelled on the Dutch style from around the 1680s.
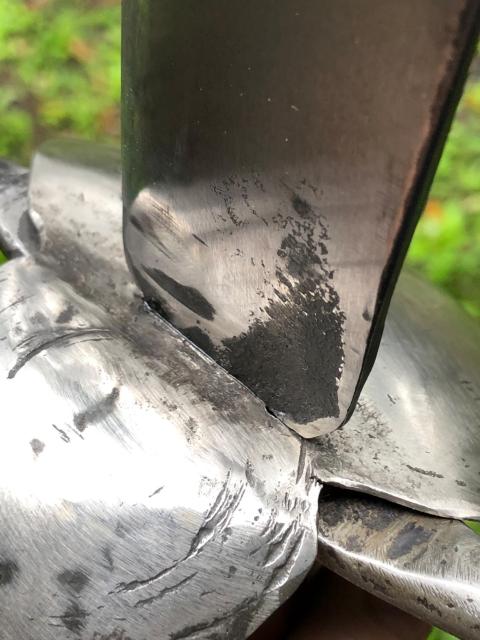
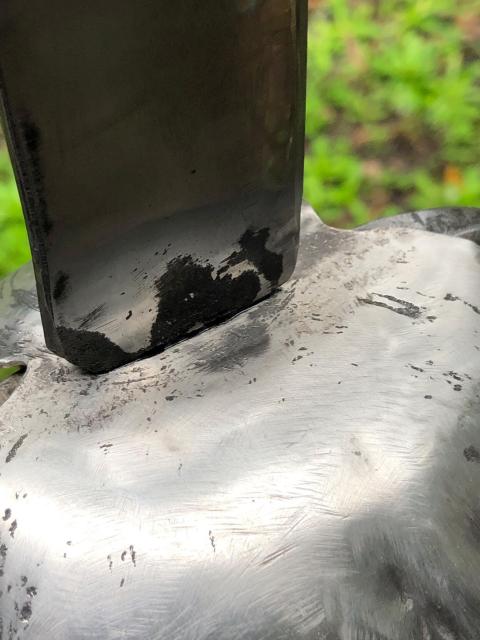
It is, by no means perfect, but the fit-up is pretty tight, and it is functionally sharp.
(iphone photos, will do some better ones later)
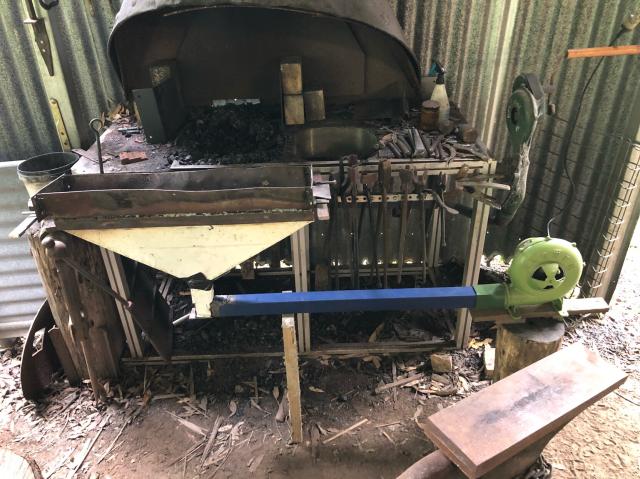
I reforged the rails to hold the long forge & they are now quite secure.
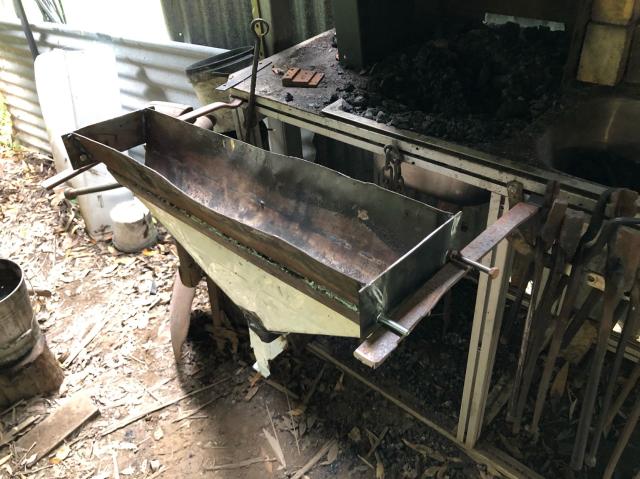
There’s a few things I need to do to the forge to improve performance, not the least of which is to seal the ends.
Despite that, I attempted to heat treat the cutlass blade. It wasn’t quite as even as I’d have liked but I think it was close enough for something that will never see combat. Seemed to be around 55HRC when done.
I then finished grinding the blade, & slice both my hands (minor) in the process. #blacksmith
Hmm, it sort of works. I’m not happy with the mating of the rail to the frame. Might need to think of a more sturdy fitment.
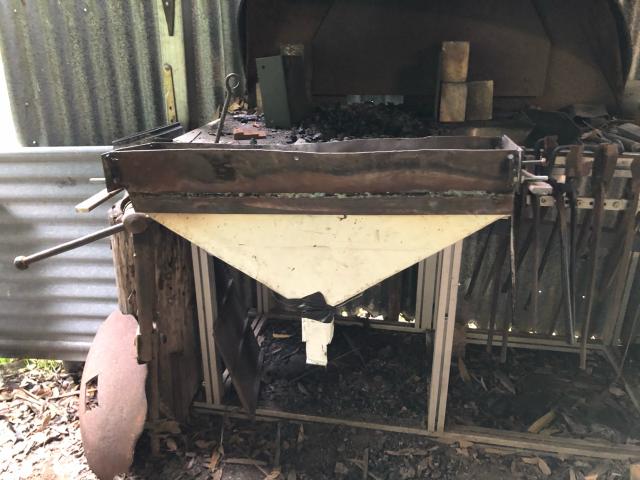
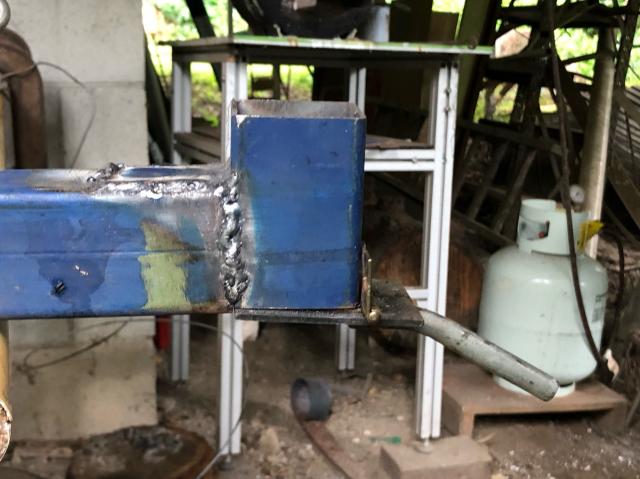
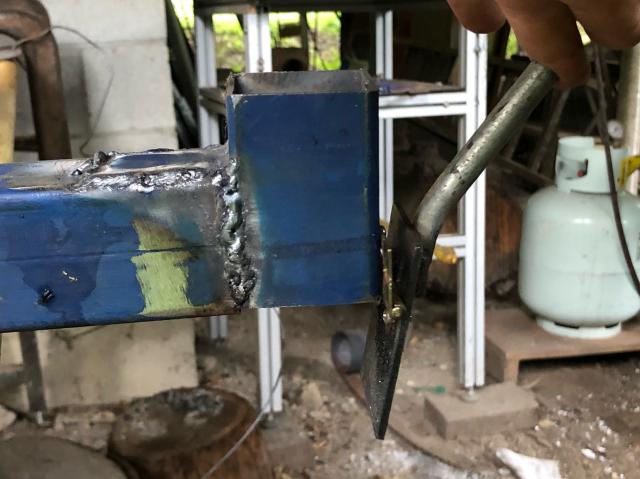
Worked out a mounting system for the long forge (the bolts pictured, which will sit on two rails from my Regular forge), and welded up the air intake and ash dump.
Currently waiting for the rails to cool as I had to forge in a lip so they’ll attach to the regular forge frame.
All this is so I can heat treat the cutlass blade, but will be a handy long term addition to the workshop.
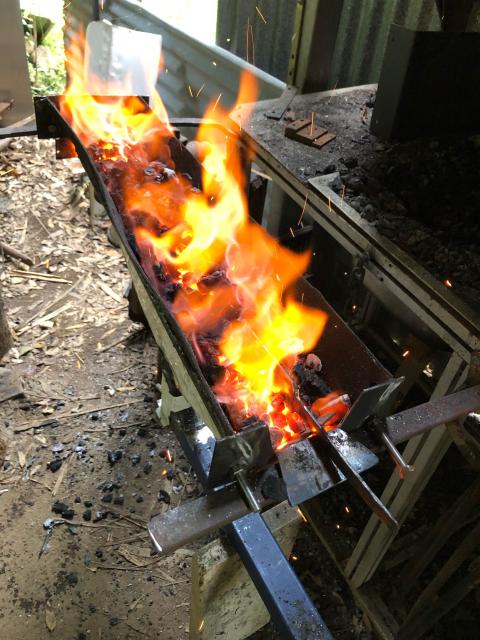
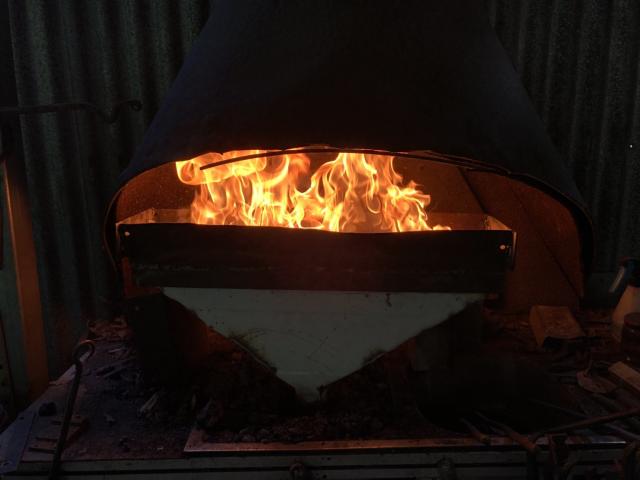
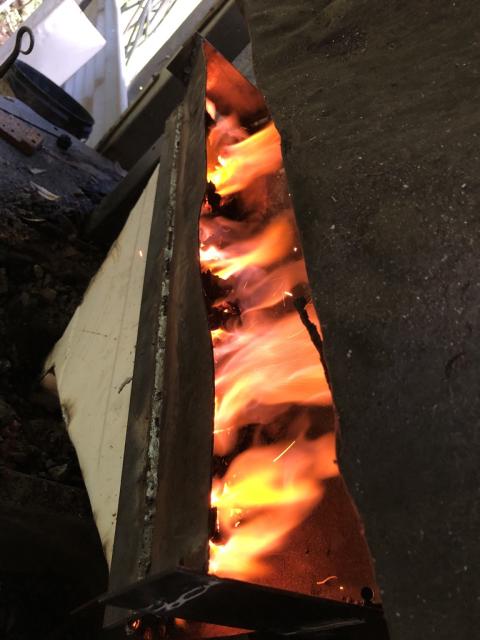
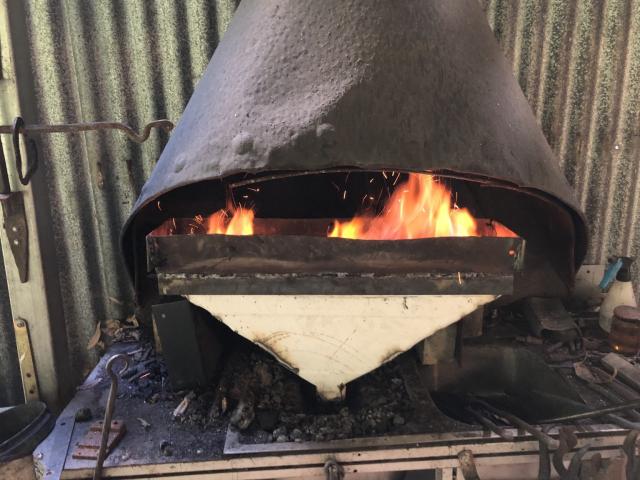
Well, the first test firing shoes the concept works.
I need to build a stand ‘cause it is too high when in the regular forge.
However, it does heat right along the length which is what I need.
#blacksmith #forge
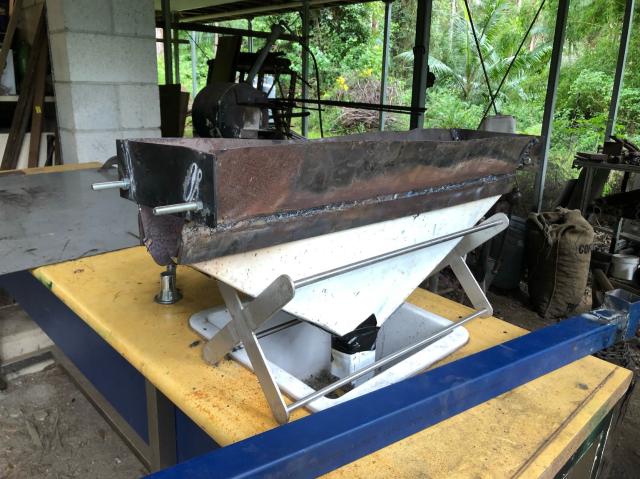
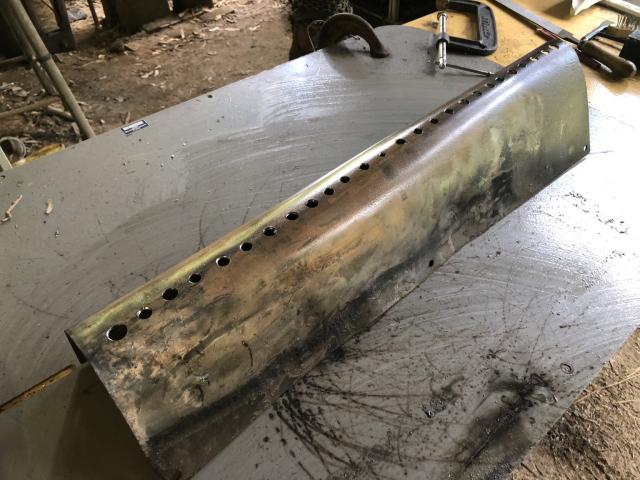
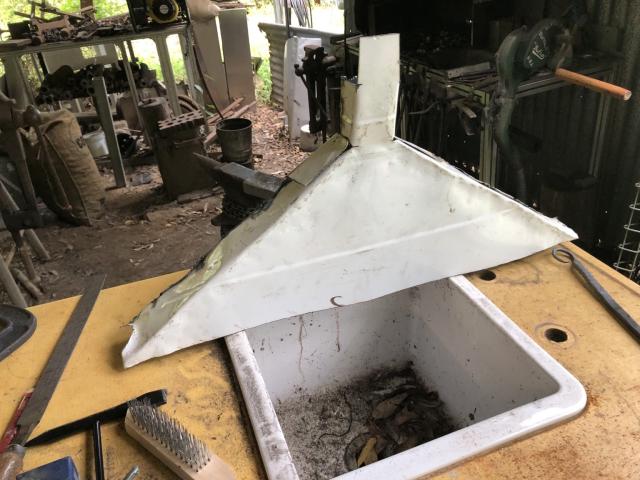
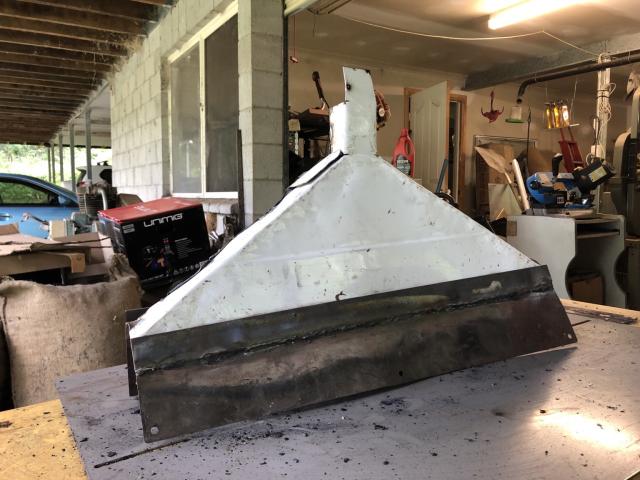
Still to do, add end caps, and construct 90° air intake, and some form of stand.
It’s pictured upside down here.
#fabrication #blacksmith #forge
Personally I think he should have just bought a standard rack mount shelf, but whatever floats his boat.
#blacksmith #metalwork
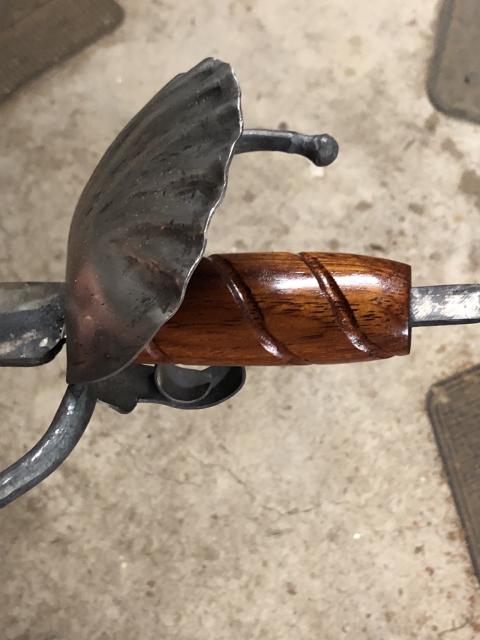
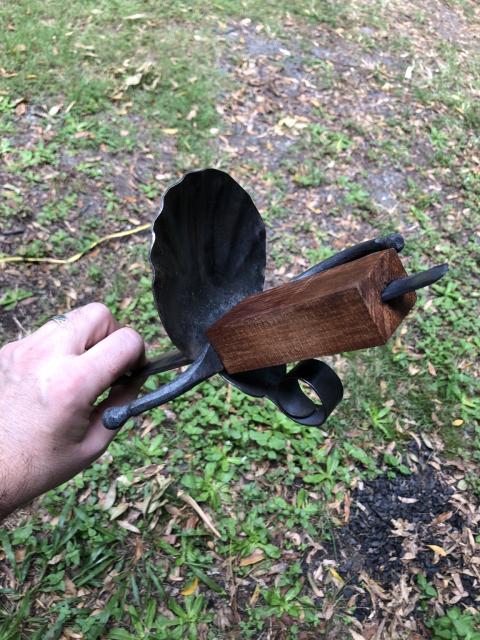
Test fit time!
Actually fits together fairly well, weight distribution is such that the balance point is 5cm in front of the guard, making for a very lively sword. Total weight is 1.2kg or about the same as my rapier (which is considerably longer).
The blade still needs heat treating and then I have all the fiddly bits in the fit up to secure everything.
#sword #cutlass #BeMorePirate #blacksmith
#cutlass #sword #blacksmith #woodwork
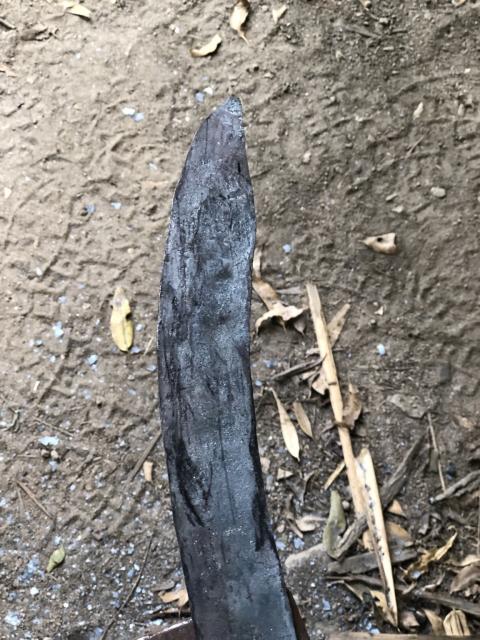
More blade cleanup today. It’s down to 500g now so I can’t take any more off, except for some light sanding and the final sharpen. Still needs heat treating too.
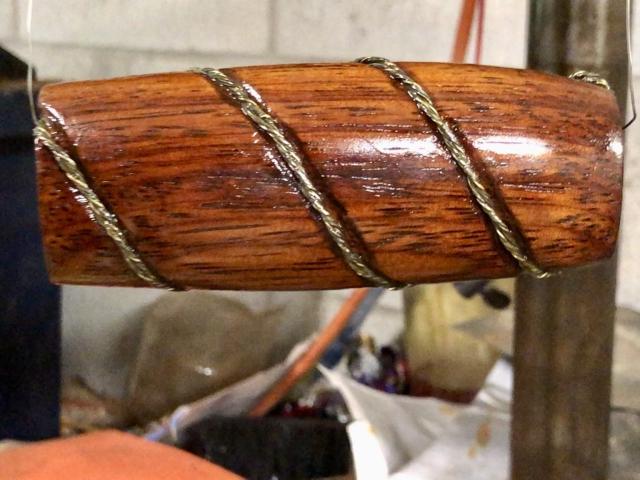
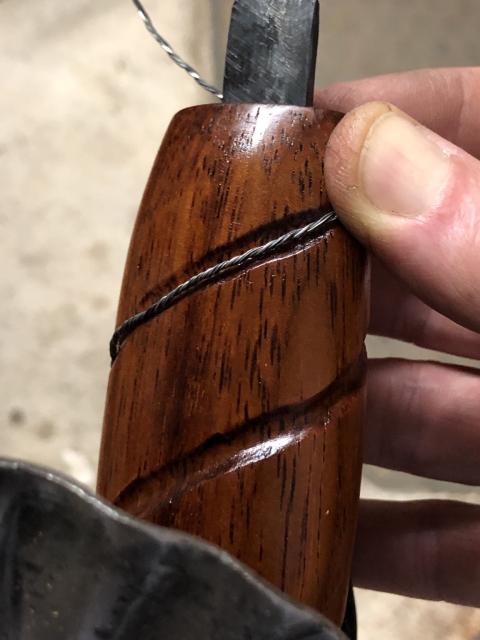
I’m leaning towards the wire. I’ve twisted some two tone wire which I think looks ok. I could twist it on itself to make it thicker, or fill the groove with clear epoxy once the wire is in place.
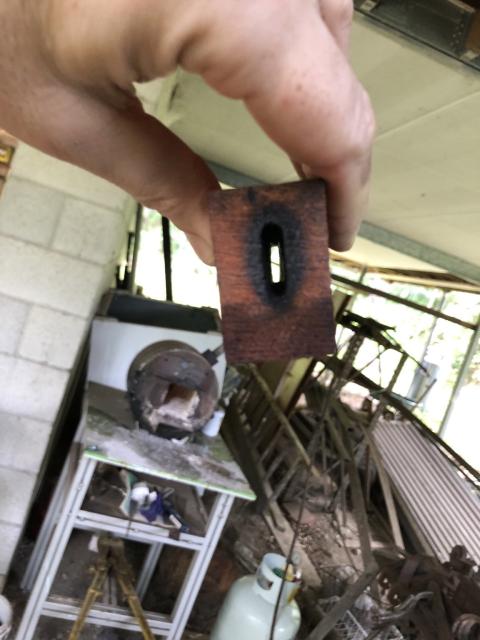
Since I also don’t have long thing drill bits, I used the more tradition method of heating the tang and pushing it through the wood.
#sword #cutlass #blacksmith
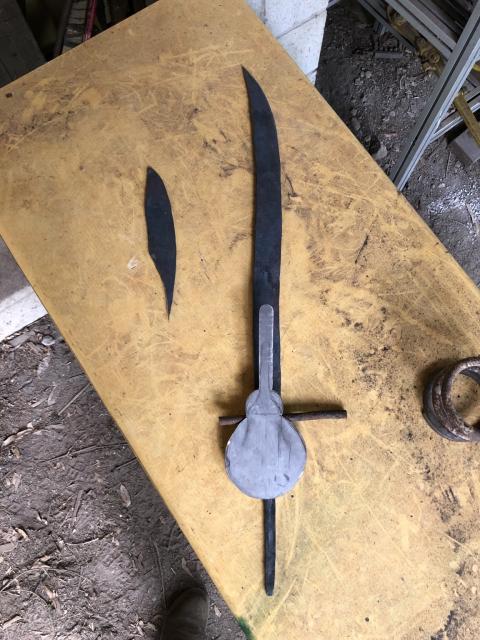
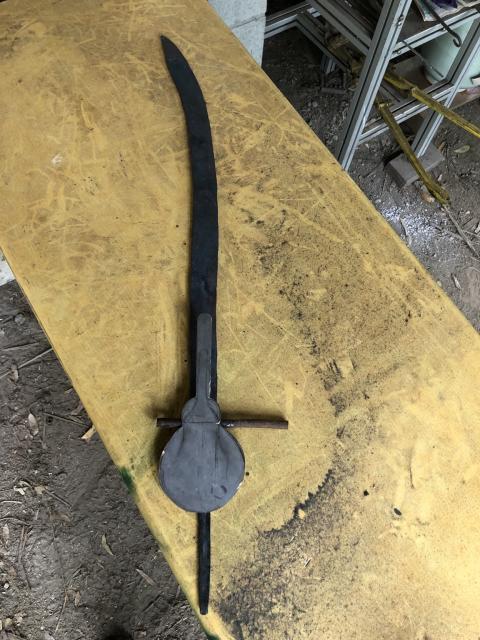
Still need to slot the quillions and guard and clean everything up and do a LOT of grinding.
#blacksmith #metalwork #cutlass #sword #BeMorePirate
#blacksmith #metalwork #cutless #sword #BeMorePirate
#blacksmith #metalwork #cutless #sword
#blacksmith #metalwork #sword #cutless #BeMorePirate
What’s this? Another ambitious project? Sure why not?!
I fully expect to make a complete hash of this but let’s see how we go eh?
#blacksmith #metalwork
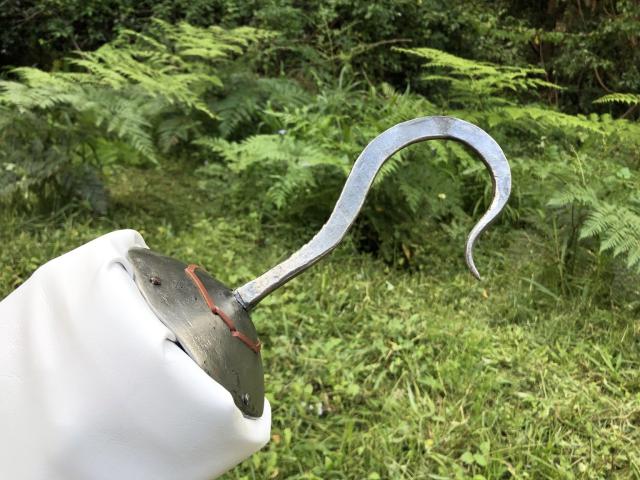
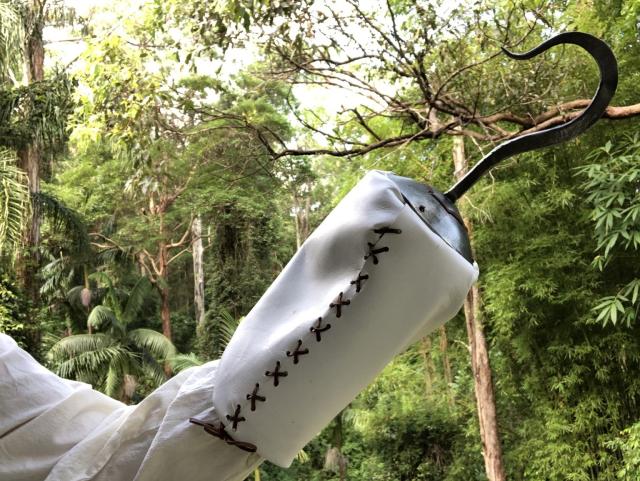
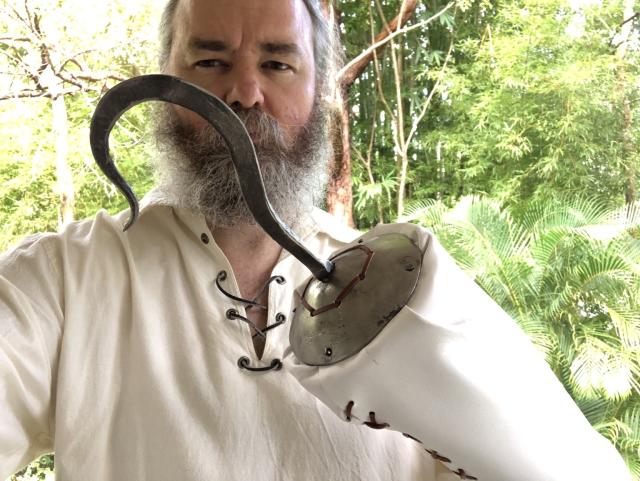
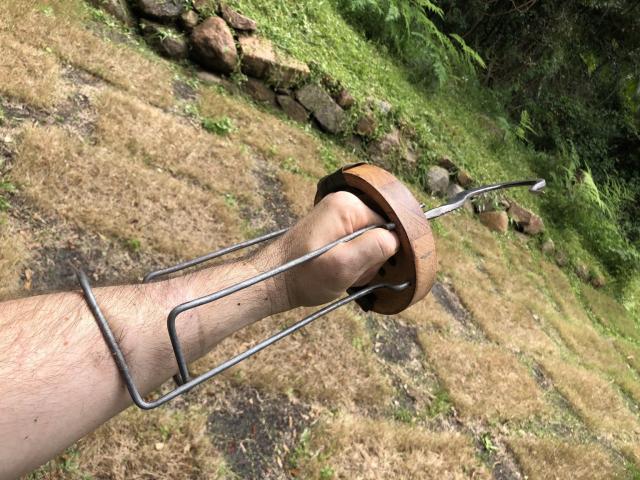
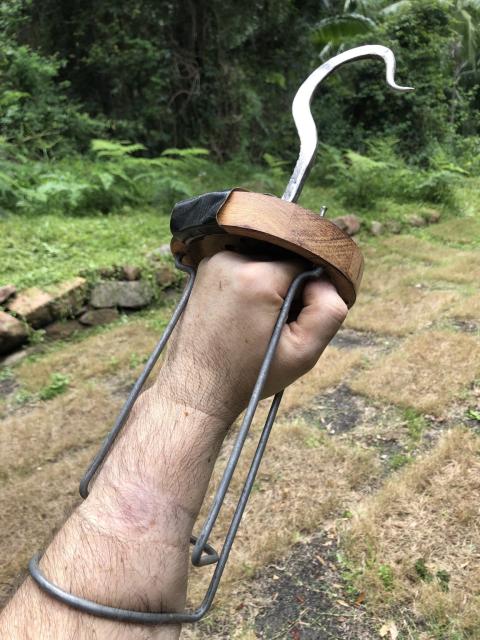
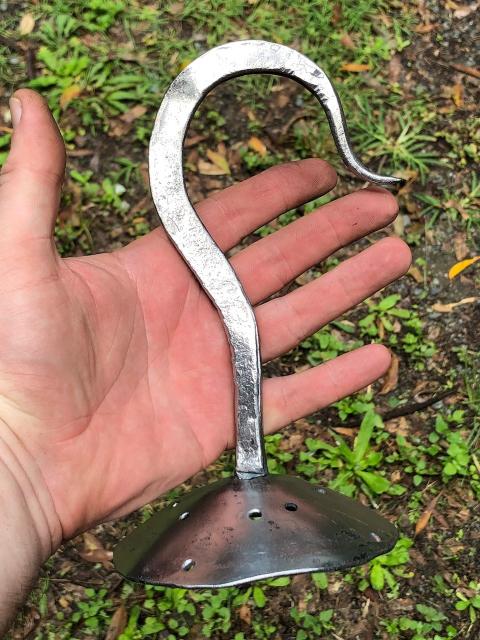
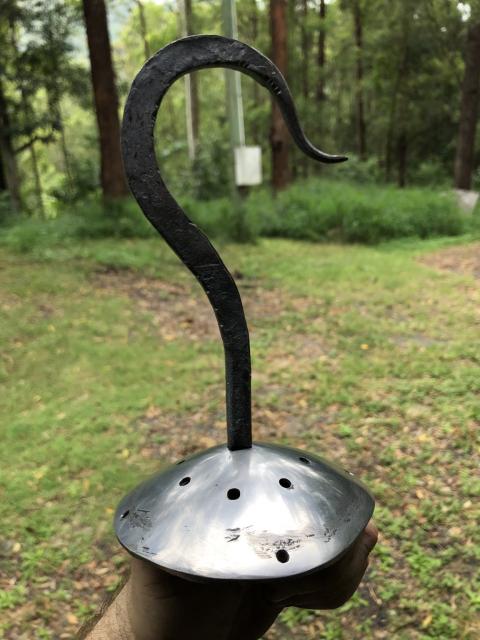
The leather fitting was quite tricky and the lacing a complete pain, but it works and is functional.
An interesting project overall, with some new techniques and good practice on some I already knew.
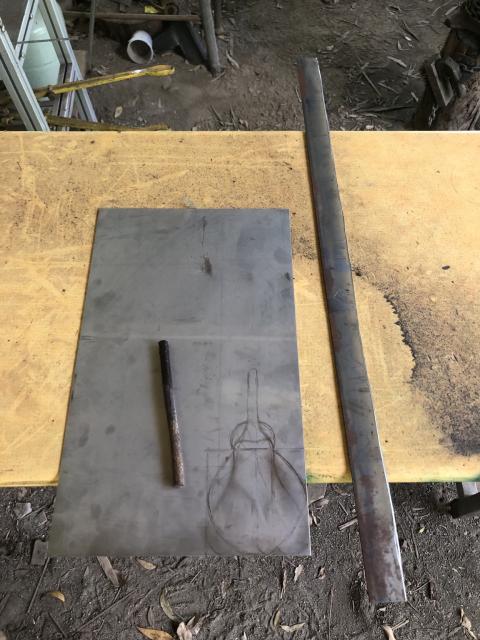
Completely off the top of my head, no real plans or drawings.
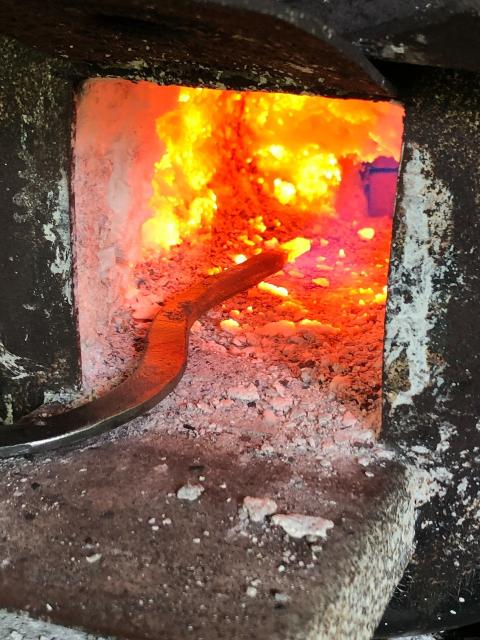
#blacksmith #hook #BeMorePirate
Test fit with the mounting brace. It works!
The whole wood and brace section will be covered in leather or cloth.
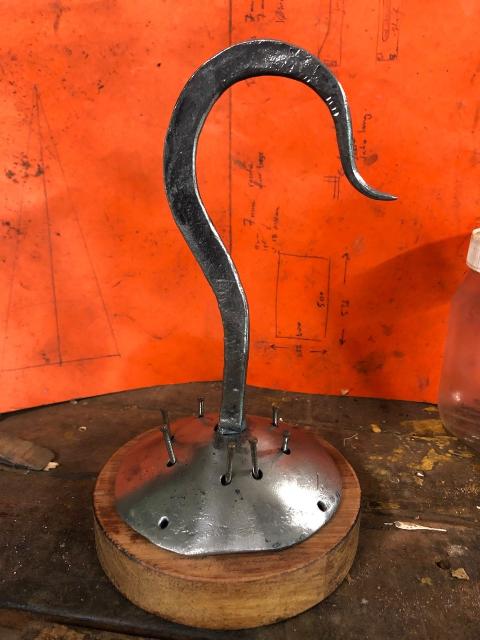
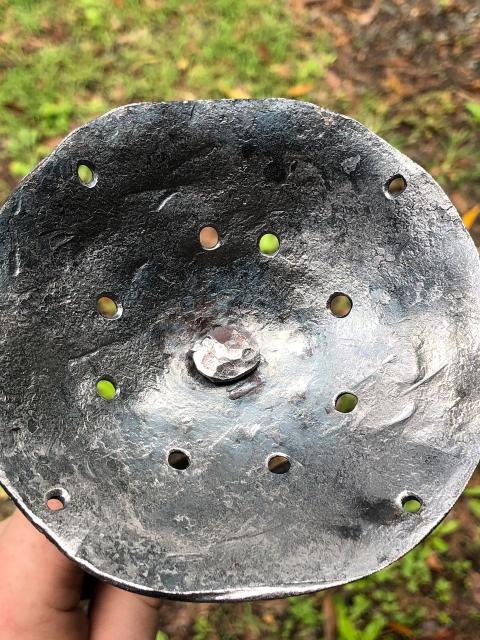
The nails are just there to line up the holes until I make some short nails for the four outer holes to nail it to the cup.
#blacksmith #hook #BeMorePirate
Next will be the wooden cup attachment and then on to the cloth bits. #blacksmith #BeMorePirate
